Overhead consoles come in very handy. The roof space is often very underutilised and so by adding an overhead console you can claim back some of this unused space.
There are a few things to consider though. Firstly, is there enough room to add a console safely. Will you end up knocking your head on it? Once you’ve determined that there is room, the next step is to work out what you want, and how you’re going to get the right result.
You could make something yourself, which I always like to do where possible. Not only to save money, but there is a certain level of satisfaction you get from building your own things, not to mention you generally always get what you want, even though it may not be a showroom result. The other option is to make use of an expert in the field.
There are a number of great overhead console manufacturers and I would always recommend making use of a reputable manufacturer. Not only because you’ll end up with a great looking result, but they pay close attention to ensuring the console is attached in such a way so that it won’t come loose while traversing the sometimes bone-shattering Australian tracks and outback roads.
If you’re in Australia, here are a couple of the more popular manufacturers of overhead roof consoles.
Jeep TJ Wrangler Overhead Roof Console
When we decided to add a roof console to our mighty TJ, we didn’t want to just go with the normal off-the-shelf option. The main reason being that most ready-made options cater for the likes of a UHF radio or other common use cases.
In our case, we wanted something a little outside the box, namely, the ability to mount an iPad to the overhead console. The main reason for this was to run the HEMA maps app and other apps so they were in clear view and easily accessible.
We could have had a crack at this one ourselves like, we did with our rear storage unit, but seeing as there are a few experts to lean on, and we wanted a fairly polished result we decided to buy instead of build.
To this end, we chose to work with the Department of the Interior to come up with a custom roof console that offered the ability to mount an iPad bracket, but also added additional storage.
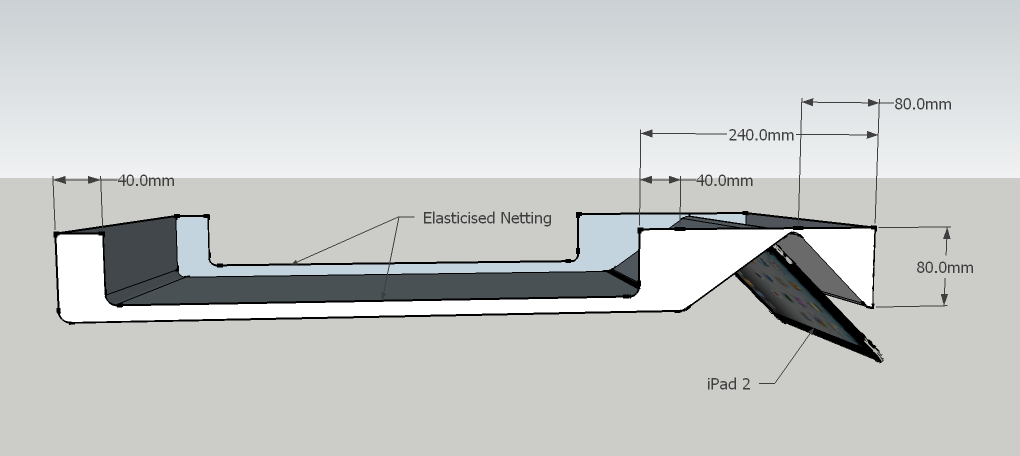
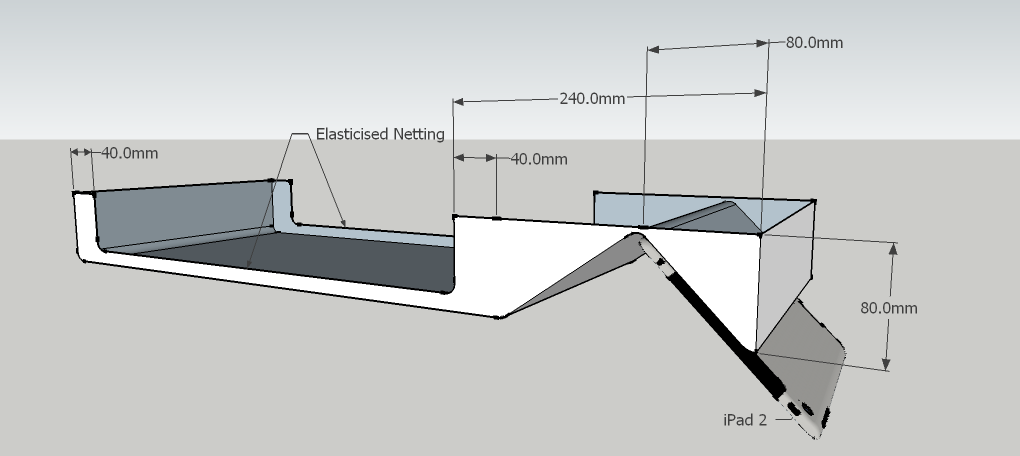
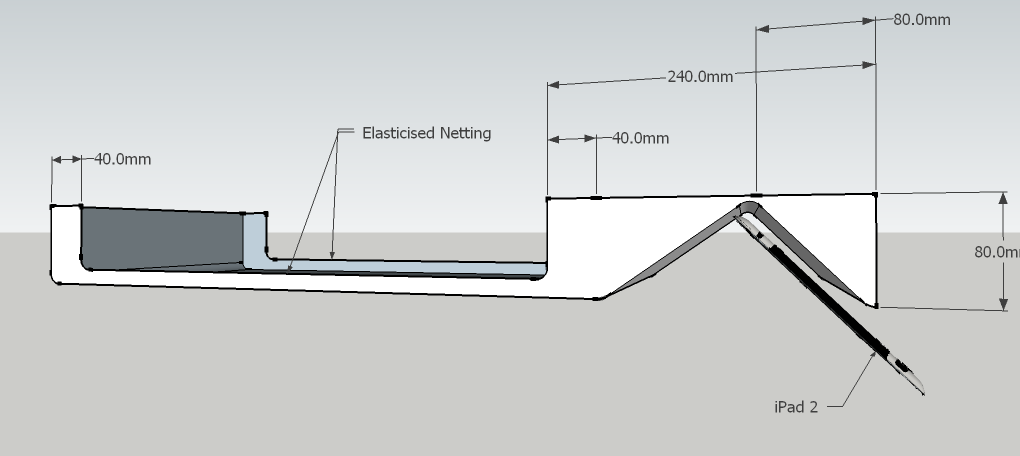
We sketched the initial design using some rudimentary 3D design software and shared it with the team at the Department of the Interior. Here are the initial designs.


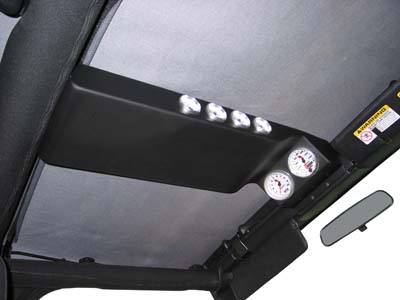
The idea was to replicate something like the following, but instead of the gauges, the iPad would be mounted on a RAM mount with around a 45-degree angle so it is easy to read, and access as required. The main consideration was making sure there was enough spacing so that the iPad wasn’t hitting the rearview mirror.

The team at the Department of the Interior wanted to be sure that things were going to work well so they asked if we could send them the iPad RAM mounting plate that would be used to hold the iPad in place.
About 3 weeks later I received the finished product. I have to say it worked out better than expected. So much so that when the TJ was being photographed for a national 4WD magazine, the photographer thought that the roof console was a standard part of the Jeep!
Check out some of the photos. It’s had a fair bit of use now, so please excuse the dust and marks on it!


To get power to the iPad, we simply ran the USB cable up the A-pillar from a USB fitting that lives behind the glove box, and then along behind the plastic fascia, popping the cable out just after the left roof clamp.
The added benefit of the overall design is that we were able to maximise the amount of storage available by having the sides open with elastic netting. There isn’t a lot of space in a TJ after you add a fridge and enough gear and food to take you to the cape or across the desert so additional storage space is always welcome.
If we ever build another vehicle, I’ll be doing the same modification again. Aside from having access to great mapping applications, you can also use the iPad to control action camera’s, play music and a myriad of other things.
A massive thanks to the team at the Department of the Interior for putting together such a well made, quality console. We simply couldn’t live without it.

Good afternoon from South Africa. I love your post on the console you had made. How wide did you make it and how did you fasten it?
Thank you again.
Hi there! The console was made by http://www.consolesonline.com.au. It’s attached at the front by drilling out the footman loop on the windscreen frame and attaching with large screws through a metal bracket that came attached to the console. The rear has a large metal plate that rests on the roll bar. The plate has holes in it to screw into the roll bar, but these aren’t required if the hardtop is on.
I’m not sure they make this one anymore, but the width is almost exactly the same as an iPad 11” when held sideways.
Cheers!